Let’s be real—teaching the writing process to first graders can feel like a lot. We’ve got brainstorming, planning, rough drafts, editing, revising, and then publishing… whew! That’s a whole lot of steps for our little writers to remember—and for us to manage during a busy school day.
Over the years, I’ve found that simplifying the writing process for elementary students makes a huge difference. So instead of walking my students through six or more writing process stages, I teach them three easy-to-remember steps we use every single day: Think. Write. Fix.
It keeps our writing block simple, focused, and kid-friendly—while still covering everything from idea generation to publishing. Here’s how it works and how you can make it part of your daily writing time, too.
Why Simplify the Writing Process for Young Writers?
If you’ve ever watched a first grader stare blankly at their paper after hearing, “Let’s brainstorm, then plan, then draft, then revise, then edit…”—you already know the answer.

Young learners do best when routines are clear and predictable. When we group the writing process stages into three manageable parts, it becomes something they can actually do—and feel good about.
Plus, it makes your writing process planning a whole lot easier. You’ll still hit all the necessary parts of the writing process elementary teachers are expected to cover—just in a more developmentally appropriate way.
The 3-Step Writing Process for Elementary Students
Step 1: Think

This is where we brainstorm and plan. I let my students doodle, talk to a partner, or use a graphic organizer to get their ideas flowing. Some kids need to sketch, others want to list. Whatever helps them think, we count it!
Visual icon idea: Lightbulb
What we say in class: “Writers always think before they write!”
Step 2: Write

Now it’s time to dive into the rough draft. This is my favorite part—just letting kids get their ideas onto paper without stopping to fix every spelling mistake.
We use sentence starters, word walls, and sometimes we write together as a group first to model what “Write Time” looks like. Then, pencils hit paper and we go for it.
Visual icon idea: Pencil
What we say in class: “Just write your thoughts down. Don’t worry about it being perfect!”
Step 3: Fix

Here’s where the magic happens. We re-read our writing and make small changes. We talk about adding details, checking for missing words, or fixing spelling. This step combines edit and revise, and we often treat publishing as part of this too—like rewriting a final copy or drawing a picture to go with it.
Sometimes we share with partners. Sometimes we turn our writing into a class book. Sometimes we just draw a star and say, “I’m done and proud!”
Visual icon idea: Magnifying glass
What we say in class: “Writers always fix up their writing to make it even better!”
How to Use This Writing Process Every Day
Here’s what this looks like in my first-grade classroom:
- 5 minutes – Think: Talk it out, draw it out, or plan with a buddy.
- 15 minutes – Write: Independent work time—pencils moving!
- 10 minutes – Fix: Reread, make changes, maybe rewrite or share with a peer.
We use a writing process bulletin board to show which step we’re on. It keeps us all moving and helps the kids feel like real writers.

I also use a super simple writing process checklist with picture cues. It might say:
- I thought of an idea
- I wrote on my own
- I reread and fixed it up
- I’m ready to share!
(And honestly, if they check those off, we’ve had a great day.)

Writing Process Activities for Elementary Students
If you're wondering how to keep each step fresh and fun, here are a few go-to activities I use during each part of our process:
Think (Brainstorm & Planning)
- Picture prompts
- Turn-and-talk story starters
- Doodle your idea
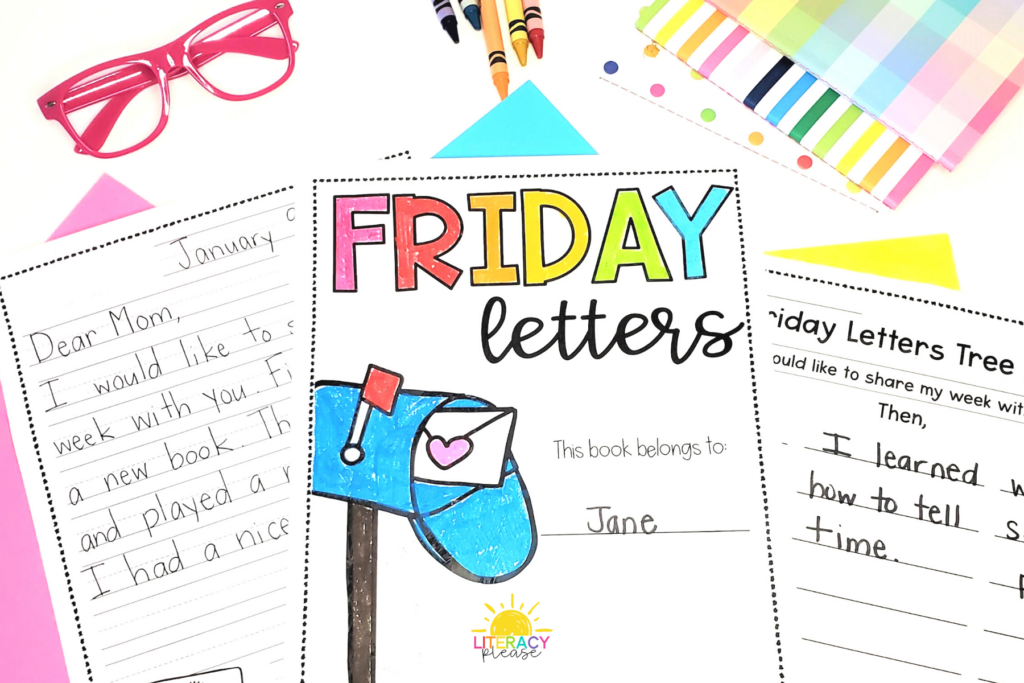
- Friday Letters
Write (Rough Draft)
- Quiet writing time with instrumental music
- Sentence starters on the board
- Shared writing to model structure
- Writing folders with old stories to continue
Fix (Edit, Revise, Publish)
- Sticky note suggestions from partners
- Highlight a capital and punctuation
- Add a word challenge (like “use a describing word”)
- Peer edit with a checklist
- Rewrite on fancy paper for publishing day
- Have a Publishing Party

You can rotate these throughout the week or build them into your writing process lesson plan. Keep it light and playful, and the kids will want to fix and share their writing!
Keep It Simple and Consistent
At the end of the day, teaching the writing process for elementary students doesn’t have to be complicated. In fact, it shouldn’t be—especially not in first grade.

When you use a 3-step system like Think, Write, Fix, you’re still covering the big ideas: brainstorming, writing a rough draft, taking time to edit and revise, and then getting ready to publish.
It makes writing time feel doable—for you and your students.
Want to Try It in Your Classroom?
I’ve created a free printable writing process bulletin board kit and student checklist you can use to introduce these 3 steps to your writers. It includes visual icons and simple language to support independence.

Get the Writing Process Bulletin Board Kit here!
Or, if you’re ready to dive deeper, check out my Write and Shine Writing Workshop units, which walk you through everything with kid-friendly mini-lessons and writing goals.

Let’s make writing time the best part of the day—without making it harder than it needs to be!