You know those concepts that you need to teach your young first and second graders that just seem like something meant for older kids? Yeah, I get it. Graphic organizers can be a bit like that. And the main idea graphic organizer is no different. But I’ve got the activities for you!
In the previous post, I showed you some fun and engaging ways to introduce main idea and key details. Check it out here!
Now that your kiddos have a basic understanding of this concept, the next step is to show them how to record these ideas with a main idea graphic organizer. Similarly, you might call it a main idea web.
Here are three steps you can follow.
Step 1: Main Idea Bag
I think it’s great to begin with a main idea visual. As a result, your students SEE main idea and details. Start by using a main idea bag. Pull out the details and have the students name them. Then ask, “What’s the main idea?”

Get the resources here:
Step 2: Main Idea Graphic Organizer
This web can be used for so many different assignments throughout the day. For example, it can be used in writing, reading, science, and social studies. Using the same graphic organizer will get your students familiar with using it.
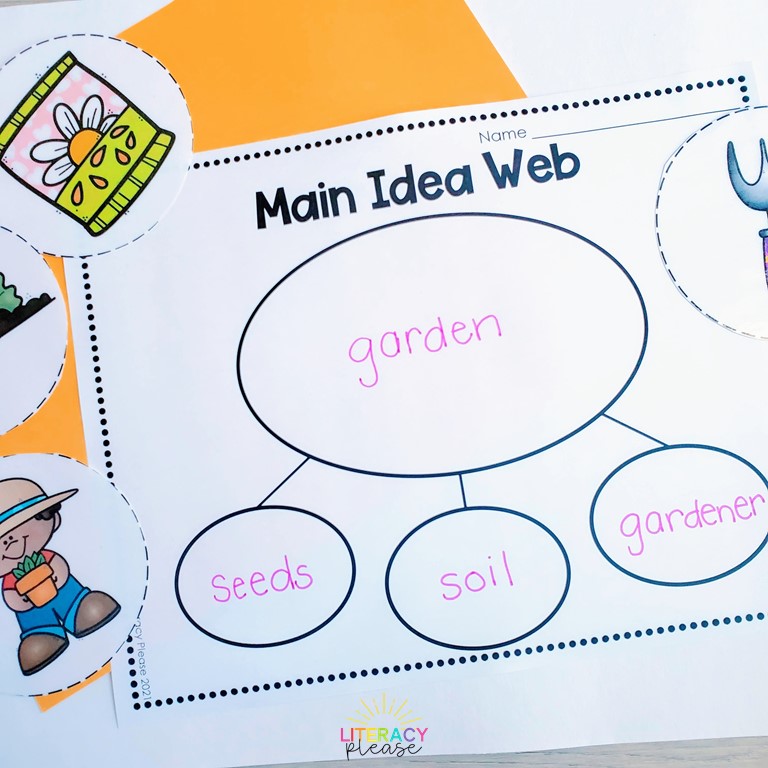
Using the information gathered from the bag, show the main idea graphic organizer. Demonstrate that the main idea goes into the top of the web. The details go into the smaller bubbles.
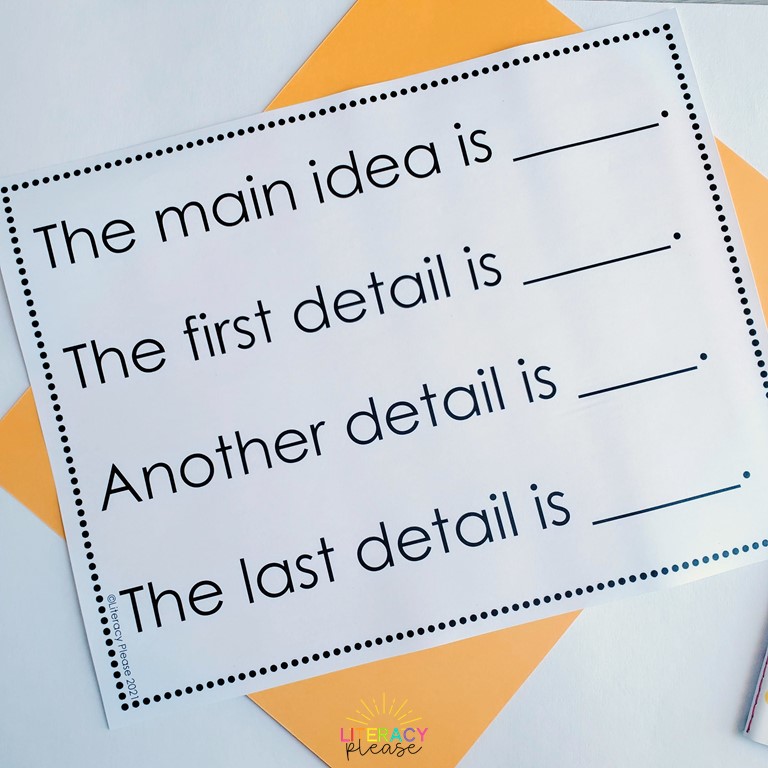
After that, have student use sentence starters to give them the opportunity to use the language.
Step 3: The Printable
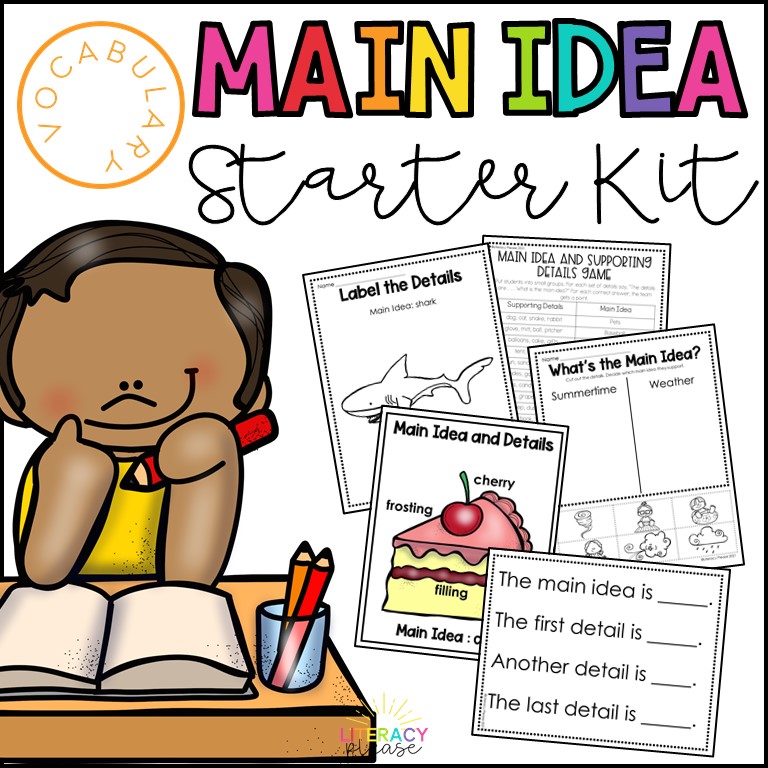
Now let your students practice on their own using the graphic organizer printable found in the Main Idea Starter Kit. For instance, you can hand out different bags to each student. On the other hand, students can work in groups or just show one set of pictures to the entire class. Either way, your students will feel successful doing big kid work.
